
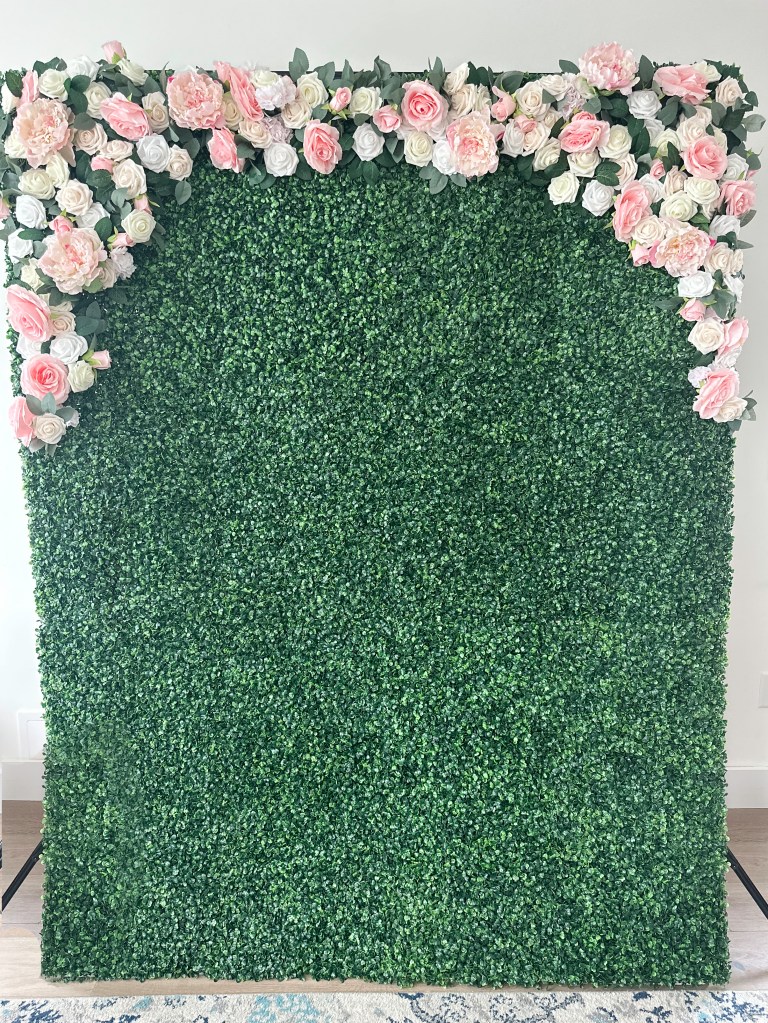
Hey Beautiful! Who doesn’t love a good photo opportunity?! When my cousin was having a baby shower I looked into renting one of these walls. Sure enough I was able to make one for less than the price for a rental! I love a good challenge, and a good deal so I went ahead and made on for less than $150!
Items you need along with the Amazon links
1 pack of Box wood panels . My wall was around to 6 x 8 feet (I had a few panels left over from another project).
1 Rose Vine – These are very pretty and realistic looking! I was able to use the greens in the vine to give it a realistic look and to create a starting base for to work off of. Great bang for your buck.
2 -3 boxes of these Artificial Rose picks I would pick at least 2 colors and ideally around 120-150 flower heads! I went with Blush, white and ivory. They look amazing for the price. Super soft and velvety not cheap plastic feeling. (*Side note can use these again for so many things. Like this flower number party photography prop. DIY post coming soon – I promise. Comment or subscribe if you want to be alerted when I get er done lol. Spoiler alert it only cost $30-$40 to make and you can easily reuse the supplies when the party it over! here is a sneak peak)

Oh I also use them to elevate my gift wrapping game. I digress.
1 a bag of GOOD Zip ties. I got mine at Dollar tree but I recommend these Green Zip Ties from amazon.
1 Heavy Duty Adjustable Stand. Ok so I had a photography backdrop which wasn’t amazingly stable so I would recommend getting one of these bad boys instead. I like that the height is adjustable. ( I did not included this in my cost being that I had one, and you might be able to hang the wall to something!) Here is what my less expensive photography stand looks like if you wanted to save money. Again if you are on the fence all the offers I got on facebook wanted to buy the stand as well so I do think it’s worth it!
Optional additional Faux Peonies I had some laying around the house. See what you have laying around the house!
So to start I make my flower wall before I realized I was going to make this into a DIY post! So I apologize for the lack of photos between steps but I assure you this is VERY easy to do.
Step 1 attaching the panels in rows. Before you go ahead and attach all of them decide the dimensions and lay them facedown. My wall is about is 6×7. So I had 4 rows of 3.5 attached panels.
The first step is connecting the only the top first few rows that you want the flowers on. I took the zip ties and tied the panels together every 3 inches or so through the adjacent boxes. Don’t make the zip ties too tight or else the panels edges will buckle! I basically left enough room for a pencil to slide in. I zip tied 3.5 panels together in a row.

Next lets hand this little chunk of wall so we can add the flowers easily. I made loops with the zip ties that would be able hold the cross bar of the stand. I placed them an inch or 2 below the top edge, and made sure that these vertical loops were going through 3 boxes so it wouldn’t be seen from the front and for more support. Almost like fancy curtains where you don’t see the loops or rod.
I hung this portion up so I would be able to work easily with the flowers at eye level and not standing on a ladder. Yes I have kids- and my house is a mess.

Step 2 – Attaching the Rose Flower Vine. At first I thought I would need to break out the hot glue gun, but I’m so glad I didn’t! I decided to use tiny zip ties that were supplied with the panels along with some pipe cleaners I had laying around. I attached the vines first. I pretty much just followed a rainbow shape. Watch the video to clarify. Once this was up it was a great base to plug other flowers around it to look realistic.
Step 3- Attached the flower picks. I simply pushed them through the boxwood panels right where I wanted. The panels were dense and held the flowers in place while I (not so) strategically popped in all the flowers. I used a random mix of those 3 colors.
Next I grabbed some the peony stems I had laying around from a previous amazon purchase and pooped those bad boys in. Once I was happy with the flowers I finished the rest of the panels connectors and hung that baby up.
Step 4- Clean up the backside. Now the back side should look scary at this point. I snipped the zip tie tails and as for the flower stems I grabbed the tails that were in close to each other and just wrapped them around each other. Almost like a garbage tie. Then I would take that twisted portion and tuck it into a nearby square so it wouldn’t be so scary looking… or just don’t look at the back lol.
Step 5- Attach all of the other panels together. When I was done with the flower placement I took that top 2 rows off the stand and laid it facedown on the floor again. I then attached all of the other panels with the zip ties to achieve the full size flower wall I wanted. Then Ta Dah!
I should note you want to put weights or sandbag on the stand. Especially if you are using one like I used. You do NOT want this wall falling on Grandma! And pro tip if you buys these, “Sand” Bags you don’t need to use actual sand (so messy) just stuff them with unopened water bottles and thank me later!
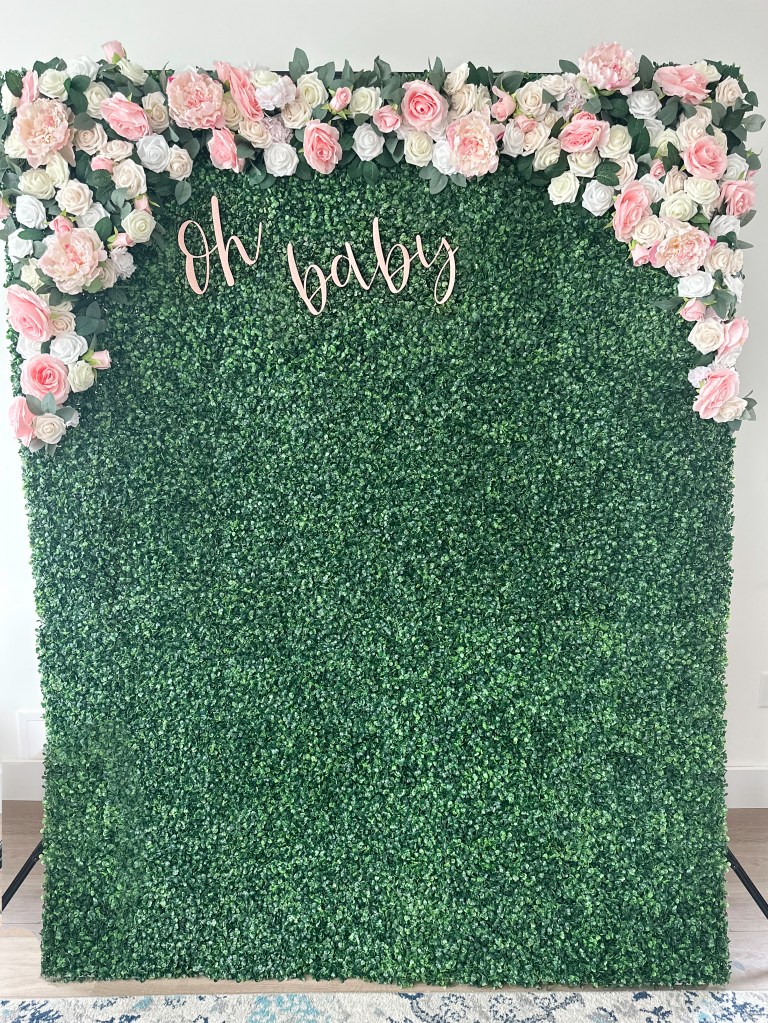
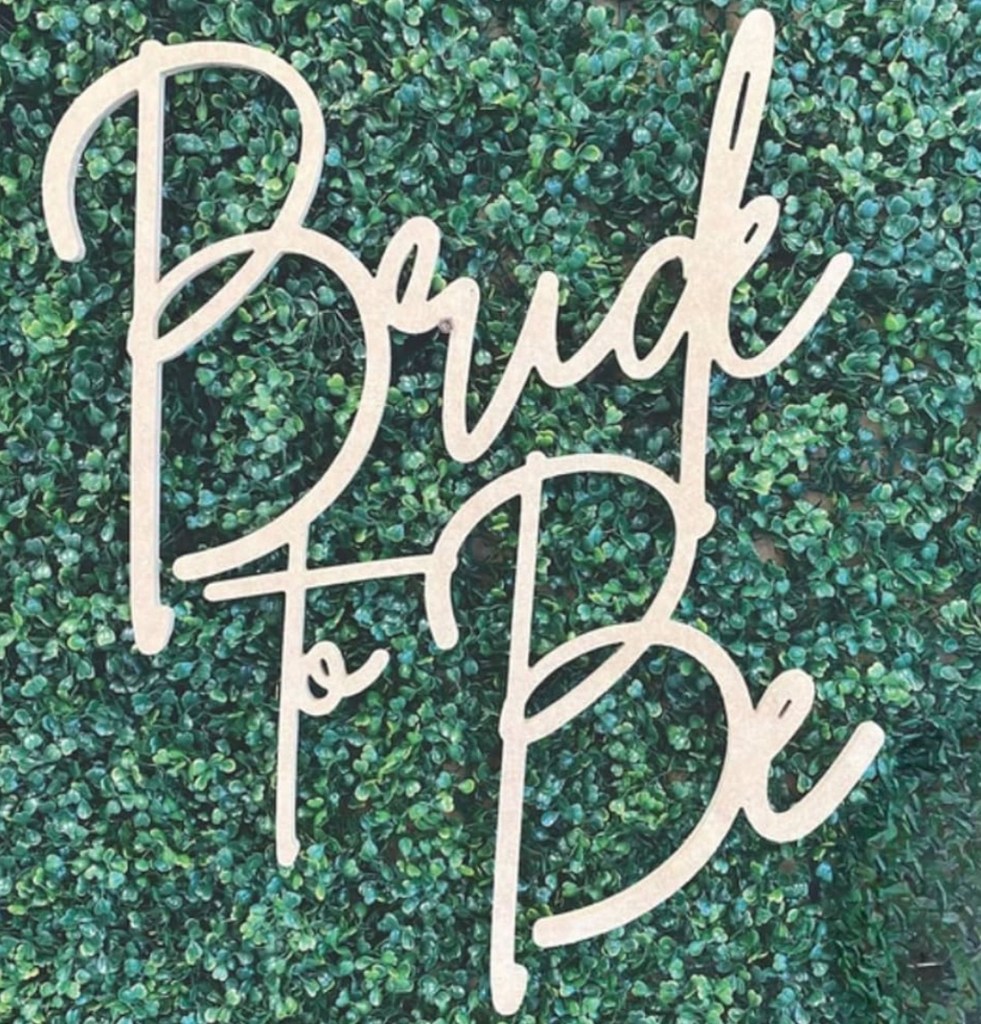
The “oh baby” sign I made with my Cricut and with dollar tree glitter vinyl that was adhered to dollar tree oak tag for extra support. Then I tied it on with clear string. Thread would work too. Cricut vinyl works as well. Find a friend that has the cricut machine and ask for them for cut this out the sign for you. It takes 2 mins to do. If you won’t have a cricut or can’t find a friend with one don’t stress. It looks beautiful without the sign as well. * Update and edit I also hung this bad boy with a wood bridal shower “bride to be” sign I ordered off Amazon for a party. Theres so many to choose but this vibe works really well.
Ps. Here is the Cricut cutting machine I use if you’d like to know. I cut this glitter vinyl and attached it with floral wire. I highly recommend it if you are into crafting and DIYS!
Since posting this I have seen a ton of interest. I am dying to know what events you are making your bow flower walls for?! comment below!
Thanks for reading and happy Crafting my friends! Xo G
Update I made a video! Watch it here: https://youtu.be/ApLI3smnkKM?feature=shared

Leave a reply to Ginger Ginger Loves things Cancel reply