
In all my years of modeling, unless a client specifically demanded (and paid for) a professional manicure the day before a shoot, I was usually scrambling on the way there — slapping on a coat of Ballet Slippers nail polish in the car and hoping for the best.
It was very much a good enough, don’t look too closely situation. And honestly? I wish I knew then what I know now.
If you’re a nail girly who loves the salon experience — sitting for hours, picking colors, and spending a small fortune every few weeks — this post is probably not for you. Truly. You can move right along 😘
But if you’re like me — juggling kids, work, life, and a million other priorities — nails are always the last thing on the list. Time runs out, at‑home polish chips instantly, and somehow when I try to do them myself… they still look like garbage.
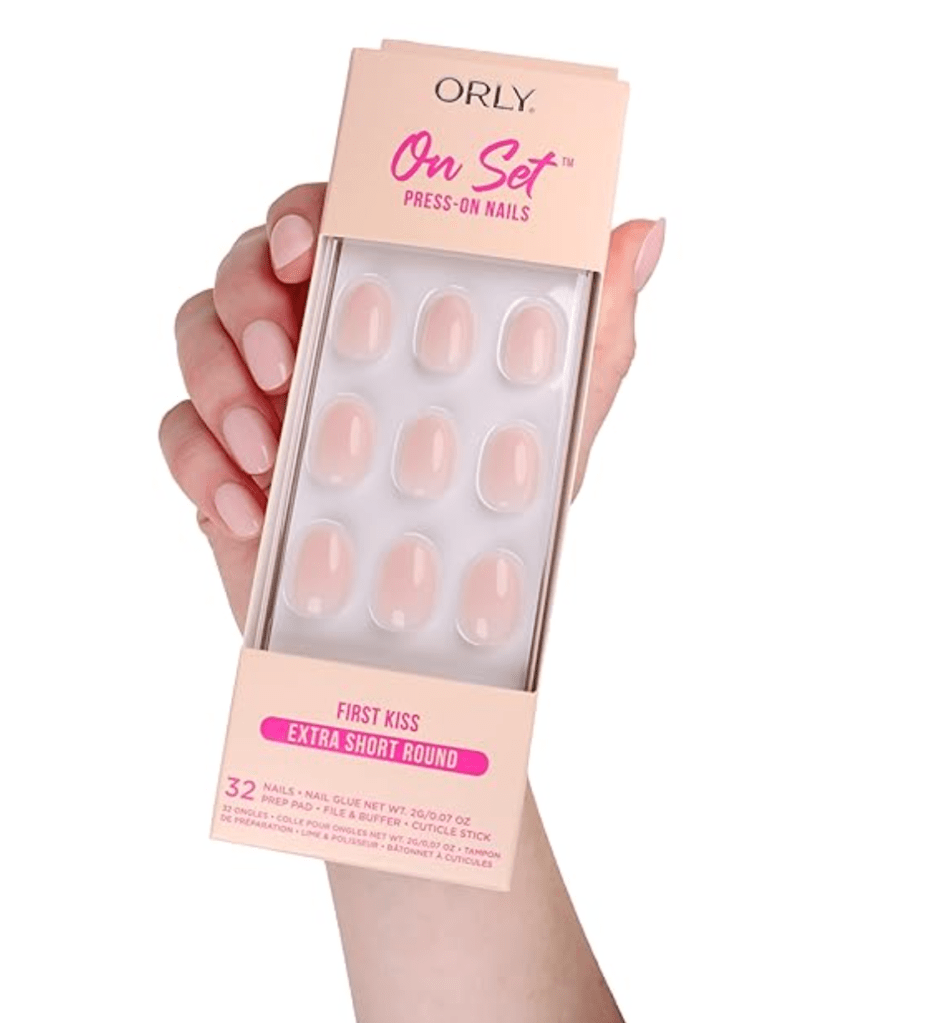
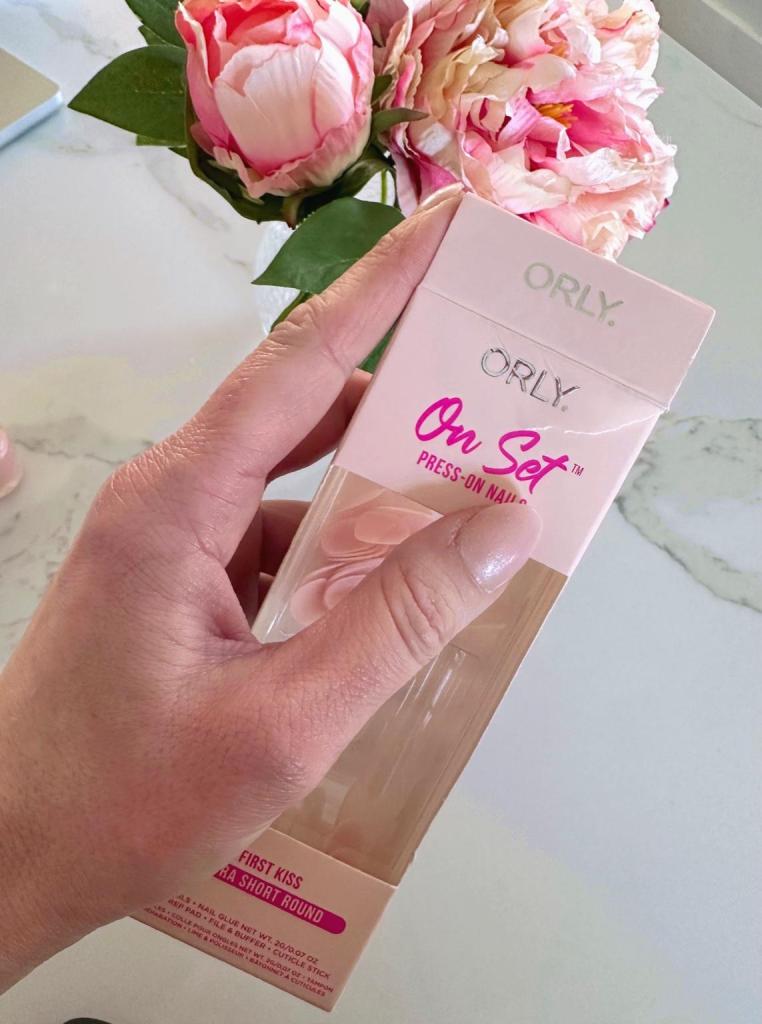
That’s exactly why I was shocked when I found a solution that actually works: Orly On Set press‑on nails.
Short on time? Here’s the takeaway
- These are Orly On Set press‑on nails
- Mine last up to two full weeks when applied correctly
- They look salon‑done, even up close
- Perfect for busy moms, winter hands, and last‑minute plans
I used to think press‑on nails were cheap‑looking, flimsy, and guaranteed to pop off in half a day. I was so wrong. These have come a long way. I’ve had mine on for two full weeks, they still look fantastic, and people genuinely assume they’re a salon manicure.
There is one caveat though: you have to apply them properly for them to last. Trust the process.
Below is exactly how I do it.
How to Apply Press‑On Nails So They Last
Step 1: Remove nail polish (yes, even old or invisible polish)
Take off any nail polish with nail polish remover. And yes — even if you don’t think you have polish on, still do this step. Oils and residue matter. Trust the process.
Step 2: Cuticle oil + push back
Apply cuticle oil to your cuticles and nail beds. Then take a cuticle stick and gently push your cuticles back. Nothing aggressive — just clean and neat.
Step 3: Let it soak, then clean again
Let the cuticle oil soak in for a few minutes. After about 10 minutes, use rubbing alcohol to clean the entire nail bed. You want the nail completely clean and oil‑free.
Optional: Light buff for better adhesion
Use a very light buffer or file and gently scuff the nail surface just a bit to give it some texture. Do not damage the nail — this is only to help adhesion.
Important: After buffing, clean again with rubbing alcohol to remove any dust or shavings. This step matters.
Step 4: Size your nails first
Before using glue, go through all the press‑on nails and figure out which size fits each finger best. Lay them out in order so you’re not guessing once the glue is on.
Step 5: Glue + press (don’t rush this)
Add a drop of glue that comes with the kit to the middle of your nail bed. Place the press‑on nail, push it down firmly, and hold it tight for a full 10 seconds. Don’t rush this part.
Step 6: Light file to finish
Once all nails are on, take a very light file and gently smooth the edges so everything looks clean and natural.
Optional final step (for a more real, salon look)
Apply a thin, shimmery translucent top coat of nail polish and let it fully dry. This gives them that extra “real manicure” finish.
Press‑On Nail Length Options (A Mom Reality Check)
Press‑on nails now come in different lengths, which I love. I personally go for the short ones — though let’s be honest, even “short” is still longer than my natural mom / house‑working nails. They feel polished without being over‑the‑top.
Bonus: These Press‑On Nails Are Reusable
Another huge win? These nails can be reused.
When you’re ready to take them off, gently slide a cuticle stick under an edge — they usually pop off pretty easily. Then soak them in warm water with a drop of olive oil to clean them up and prep them for next time.
Why I Love These Press‑On Nails (Especially in Winter)
Aside from convenience, these are a game‑changer for modeling castings or jobs where you’re expected to have picture‑perfect nails — especially in the dead of winter when salons are a whole ordeal and your hands are constantly dry and wrecked.
Looking back, I genuinely wish I had known about press‑on nails during my modeling years. They would have saved me countless last‑minute scrambles and chipped polish moments.
Perfect nails. No appointment. No hours wasted.
If you’re a busy mom, someone who never leaves enough time for a manicure, or you just want your nails to look done without the commitment — Orly On Set press‑on nails are absolutely worth trying.

Leave a comment